Understanding the Importance of Your EqualLogic Battery
Replacing the battery in your EqualLogic storage array is crucial for maintaining optimal performance and data protection. Over time, batteries may wear out, leading to potential data loss during power fluctuations. Regular maintenance and timely replacement ensure uninterrupted operations and safeguard your data.
Safety Precautions to Consider
- Ensure you have a static-free environment.
- Wear an anti-static wrist strap to prevent damage to components.
- Power down the array and detach all cables before beginning the replacement process.
- Read the manufacturer’s guidelines thoroughly.
Tools and Equipment Required
| Tool/Equipment | Purpose |
|---|---|
| Phillips screwdriver | To remove and secure screws |
| Anti-static wrist strap | To prevent static electricity damage |
| Replacement battery | Compatible with your EqualLogic model |
Step-by-Step Battery Replacement Process
Step 1: Power Down the Array
Ensure all operations have ceased, and power down the EqualLogic storage array. Disconnect all power and data cables to prevent electrical shock or damage.
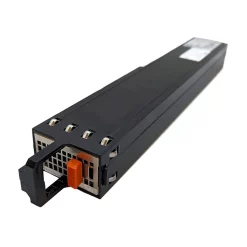
Step 2: Locate the Battery Compartment
Find the battery compartment on your EqualLogic array. It is typically located at the front or side of the unit, depending on the model.
Step 3: Open the Compartment
Using a Phillips screwdriver, carefully remove the screws securing the battery compartment cover. Set the screws aside in a safe place for reassembly. Remove the cover to expose the battery.
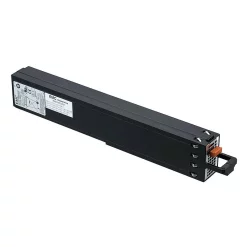
Step 4: Remove the Old Battery
Detach the connectors gently from the old battery, taking care not to damage the wires or connectors. Remove the battery from its housing.
Step 5: Install the New Battery
Place the new battery into the designated slot, ensuring it is firmly seated. Reattach the connectors securely to the new battery.
Step 6: Secure the Compartment
Place the cover back on the battery compartment. Use the Phillips screwdriver to fasten the screws and secure the cover in place.
Step 7: Reconnect Power and Data Cables
Reconnect all the previously detached power and data cables. Double-check connections for stability and correctness.
Step 8: Power On the Array
Switch on the power to the EqualLogic storage array. Monitor the system to ensure all processes resume normally and the battery indicator shows a healthy status.
Troubleshooting Common Issues
- Battery Not Charging: Ensure connectors are securely attached and check for compatibility of the new battery.
- Array Fails to Power On: Double-check all power connections and verify the power supply’s functionality.
Maintaining Your EqualLogic System Post-Replacement
After replacing the battery, maintain regular checks on the system’s health status. Monitor alerts or warnings indicating battery performance issues and ensure that battery replacements align with manufacturer recommendations for lifecycle and capacity.